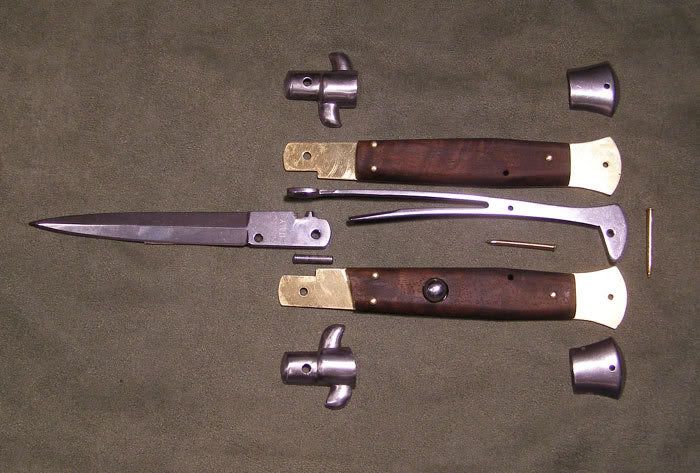
Anyway, here are all the parts that comprise an Italian stiletto switchblade. right now it is unassembled but it is about 90% finished. when making a knife you need to test fit all parts and assemble the knife, detect any flaws then do some tweaking before final assembly to insure the knife will function properly.
And I have already peened the scales to the brass liners. Before I took this picture I cut, test fit, sanded, and oiled the walnut handle material typically called 'scales'.
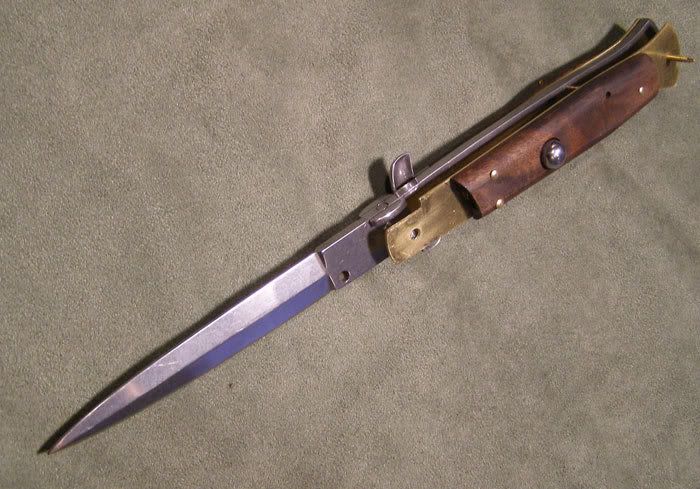
This shot shows the backspring installed.

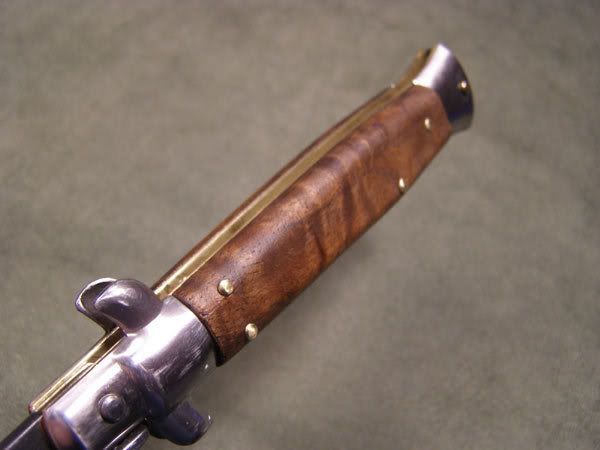
Just showing the back rear bolster.

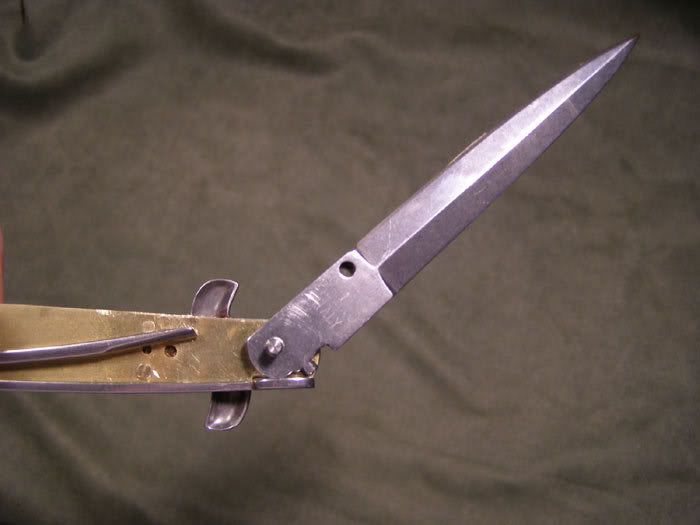
Next the blade:
Now the button side liner.
This shot shows the front swivel bolster is not yet attached. Pushing down on this part when the knife is open lets you disengage the blade from the spring's locking tab so that you can close the knife. and at this point I would like to thank RICK, top blade seller on SharperDeals for giving me a spare set of front bolsters. I f-ed up the originals by drilling the pin holes off center so Rick helped me out and gave me a replacement set. But I'm a regular RICK customer so don't be surprised if he doesnt have any for you when you ask!
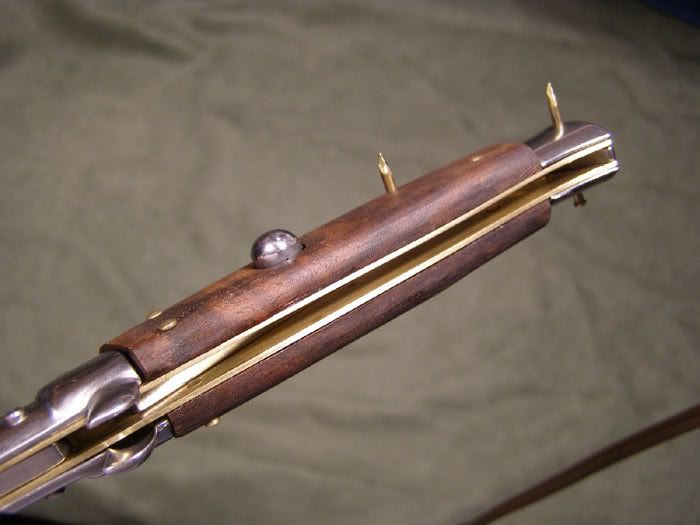
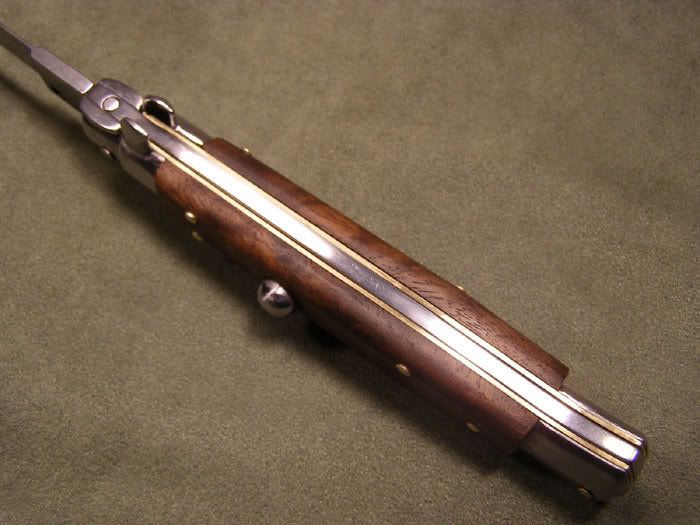
Now the knife is assembled. The spring pin and rear bolster pins stick out because I want to do function testing. If I find any flaws then I can take the knife apart and make necessary adjustments. You can see the safety is missing and that is because that part did not come with the kit. I tried making one but I did not have the same quality steel to replicate another.
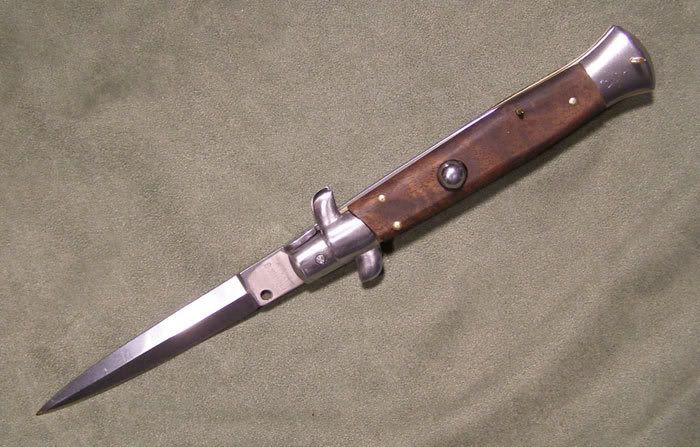
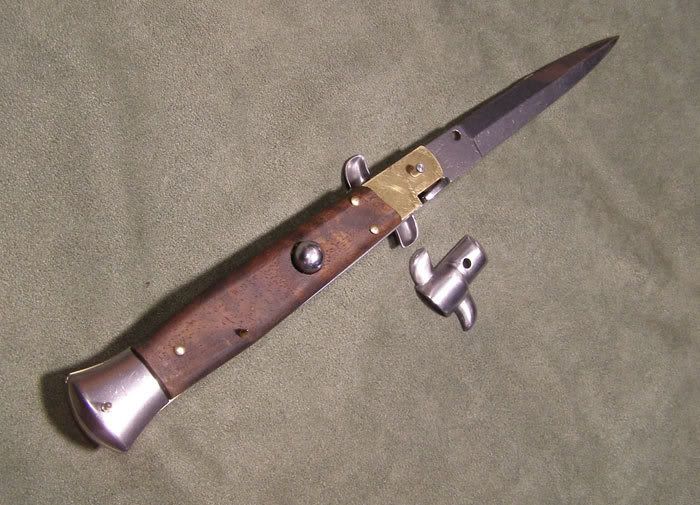
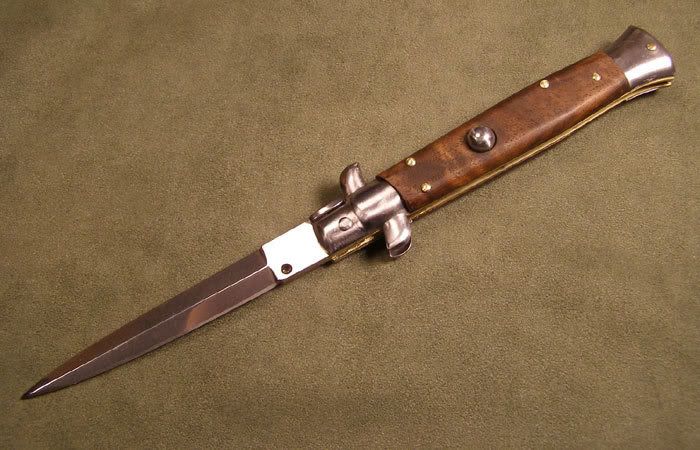
here is the finished knife. I finished the walnut by sanding up to 1000 grit and sealing with 2 coats of Danish oil then a few coats of furniture paste wax, and some buffing. I really love this grain.
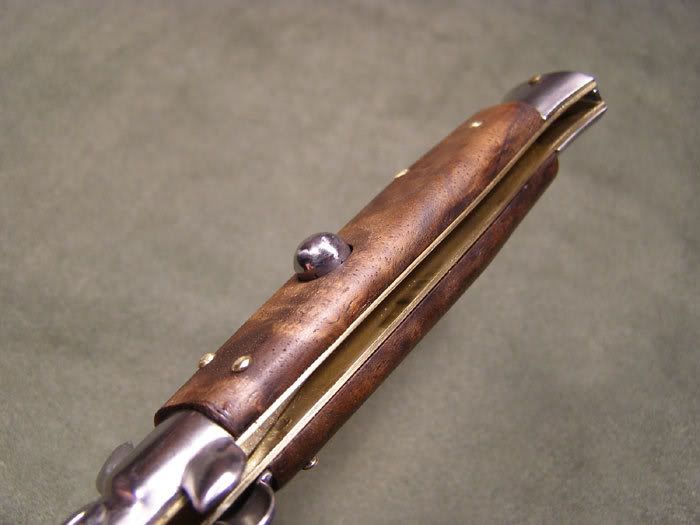
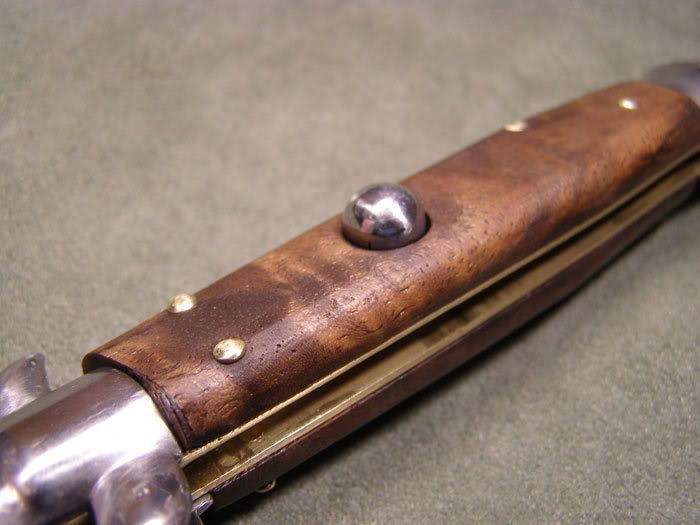
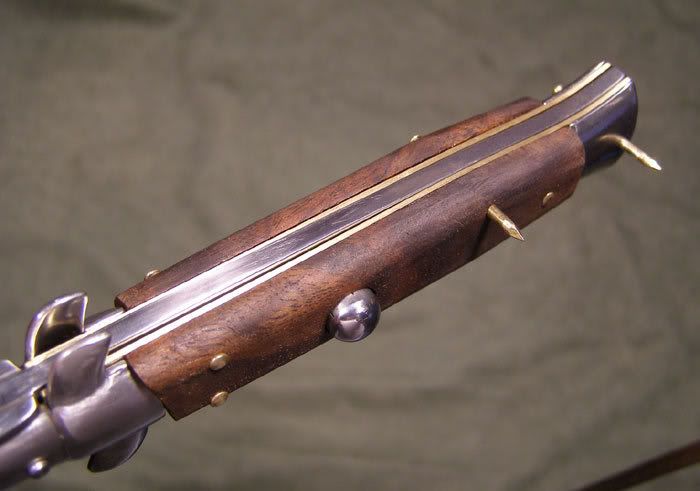
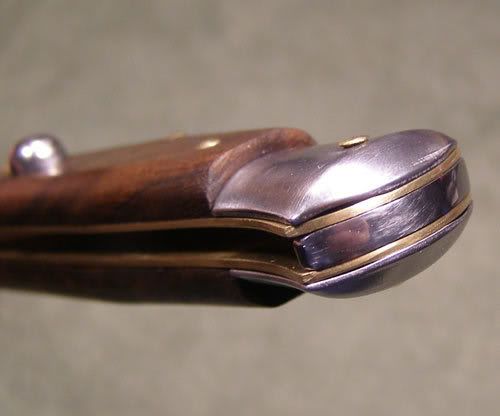
This closeup shows the rear bolsters. I would say these are reject parts because you can see the half oval gap where the bolster contacts the liner. but I don't care because I built it. Also with the backspring I needed to smooth off the edge here because the when die press stamps out this part it leaves this edge with a rough looking edge. now it is all smooth and shiny!
I used the Frank B knives in my collection as a guide during this build so it was easy to spot my flaws when compared to Italian quality.